The Future of Drive Mapping

Introduction
Have you started creating your settings and policies in Intune instead of the traditional way with group policies? If so, you are on the right path.
One of the things that many people will have to create in Intune is drive mapping for the traditional file servers, where it isn't possible to migrate the data to Sharepoint.
In this blog, we will dive into the configuration of drive mapping in Intune!
Prerequisites
Before we can start configuring the drive mapping from Intune, we will have to download the drive mapping ADMX and ADML files. This can be done from GitHub here (credits go to Mark Thomas).
We will also need the Windows ADMX and ADML before it can be successfully uploaded to Intune. You can find the files on your own computer.
C:\Windows\PolicyDefinitions\Windows.admx
C:\Windows\PolicyDefinitions\en-US\Windows.adml
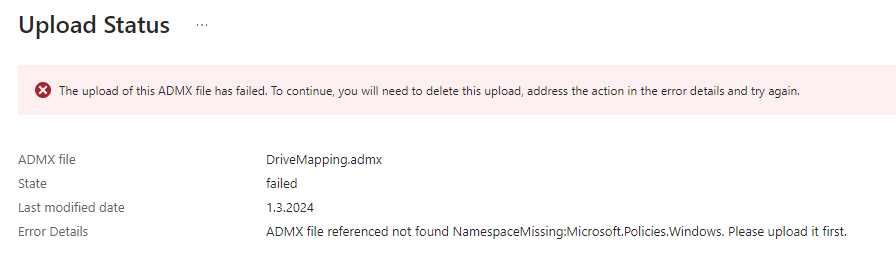
If you upload the drive mapping without the Windows ADMX, it will fail with the below error message.
- Navigate to intune.microsoft.com, and click on the devices tab.
- Go to Configuration, and switch to the "Import ADMX" tab.
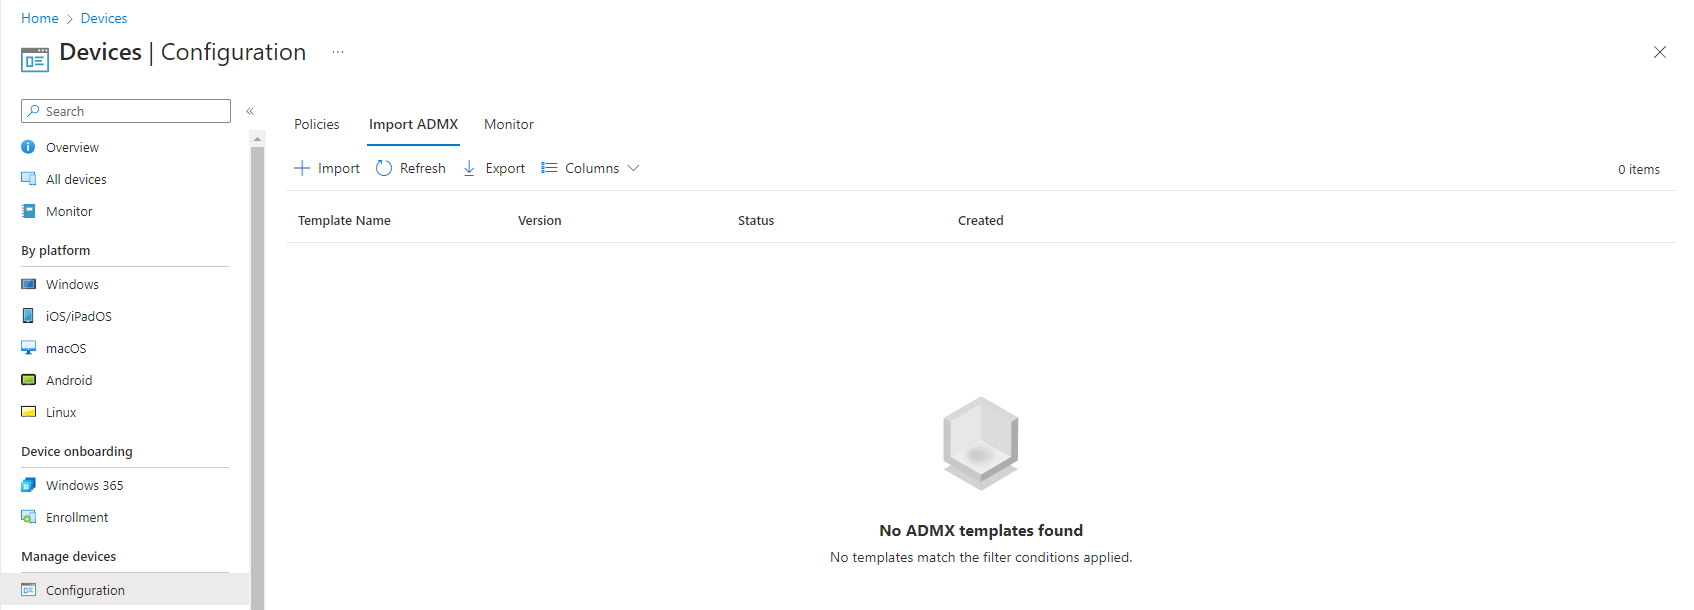
- We will start off by uploading the Windows ADMX. Click import, and select your ADMX and ADML files for Windows.
- Once they are selected, click next and create.
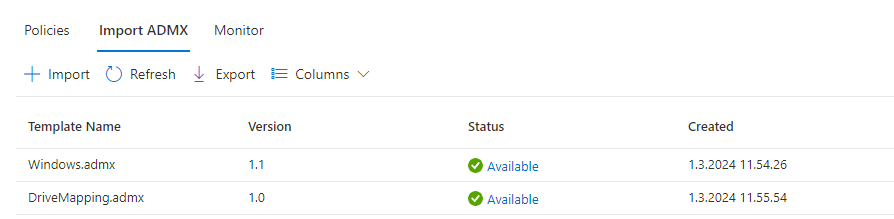
- Next up are the drive mapping ADMX and ADML files. Repeat the steps from earlier, and when the status of both ADMXs is available, you are good to go!
Configuration
We have now completed the prerequisites and are ready to configure our drive mapping in Intune.
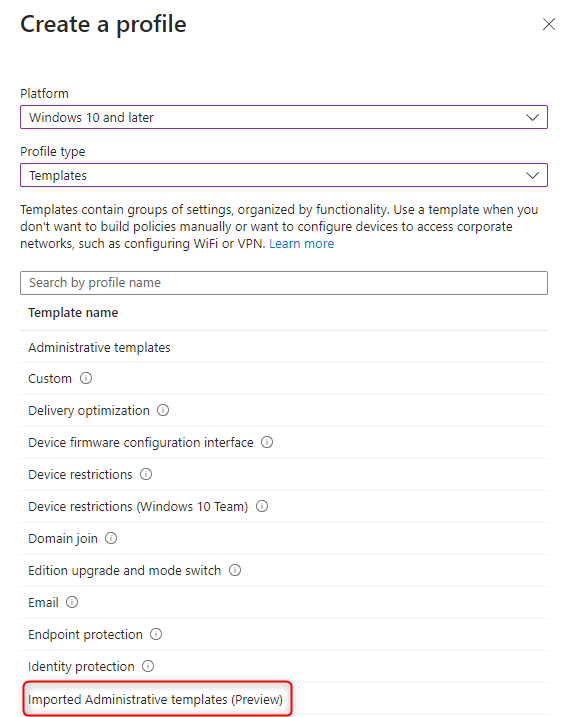
- We will start off in the configuration profiles and click create a new policy.
- It's important here that the platform is "Windows 10 and later" and the profile type is templates. To use the imported ADMX, we would have to take the template called "Imported Administrative templates (Preview)".
- Name your profile properly, and click next.
- The configuration settings will be available under "User Configuration" on the left side, so remember to switch.
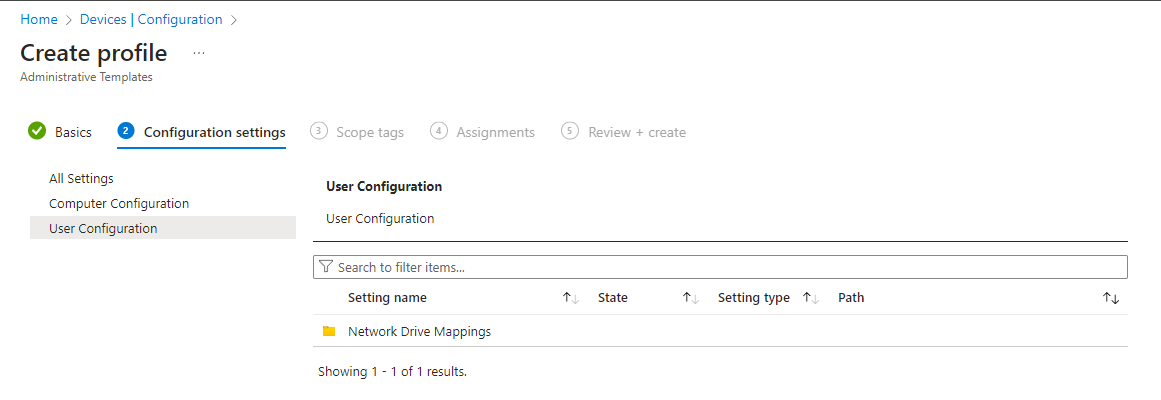
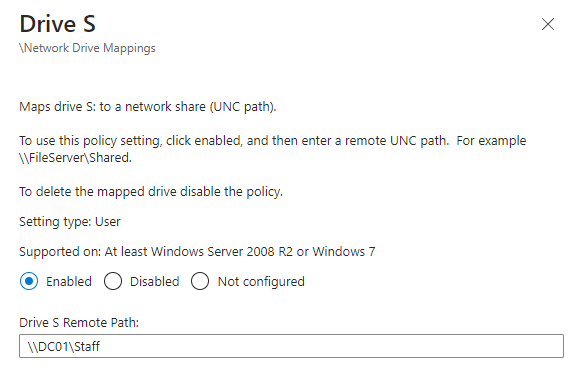
From here, you can configure drive letters from D to Z and decide if it should notify the user if the drive fails to reconnect.
- Pick the drive letter you wish to configure, enable it, and paste your UNC path.
- Once you are finished configuring, click next and make sure to assign your profile to users.
End-User Experience
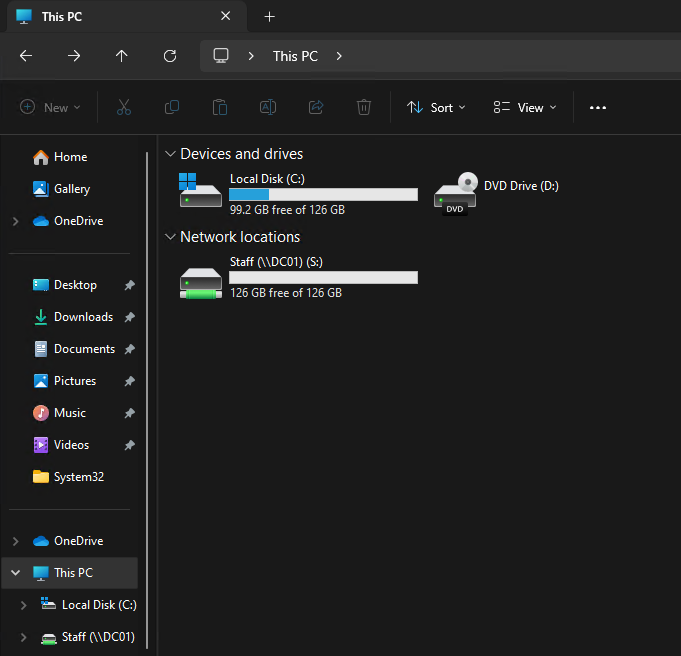
After some Intune minutes and a restart of the computer, the drive is now available for the user on the device.
We can't take a look at the device without checking the registry as well. Navigate to providers that are part of the policy manager.
HKEY_LOCAL_MACHINE\SOFTWARE\Microsoft\PolicyManager\providers
From here, we would have to know the GUID. You can find it by looking in the DMClient folder on the device.
C:\ProgramData\Microsoft\DMClient
The GUID is the folder name inside of DMClient, see below for an example.

Copy the name of the folder (GUID) into your registry and unfold it. Underneath the GUID, there is a default folder. The device folder and the logged-in user's SID are located under default.
Under device, you can see policies assigned to the device, and under SID, you can see policies assigned to the user.
Remember that the drive mapping policy is assigned to users? Try to take a look under the SID folder.
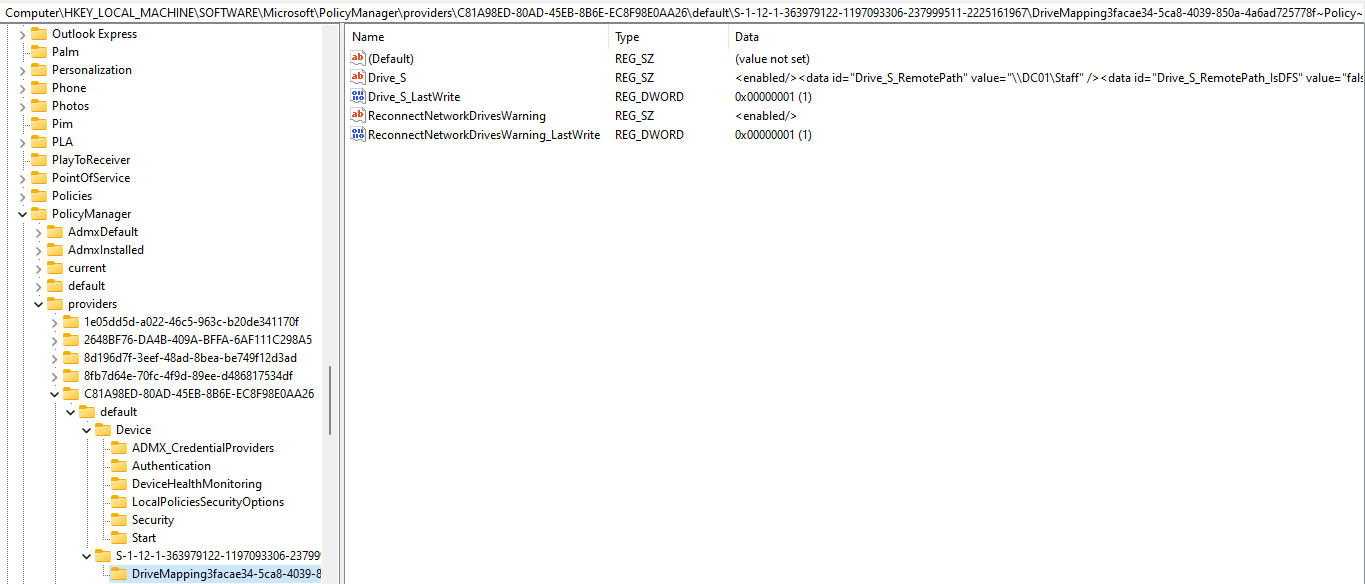
As you can see above, the policies we configured for drive mapping is available in the registry.
Conclusion
A lot of people are in the middle of moving policies and settings to Intune, and drive mappings are one of them. I hope this blog can help you find a solution for drive mapping.
Thank you for reading this blog. I appreciate you taking the time.